Download the free file here: Flower in SVG
Or download the free file here: Flower in PDF
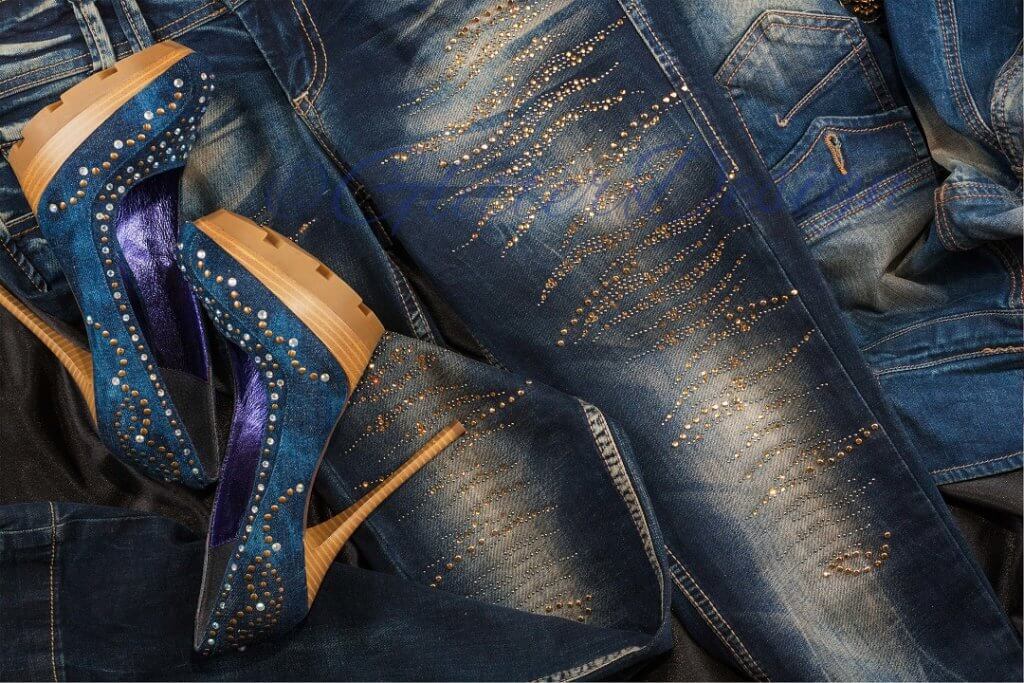
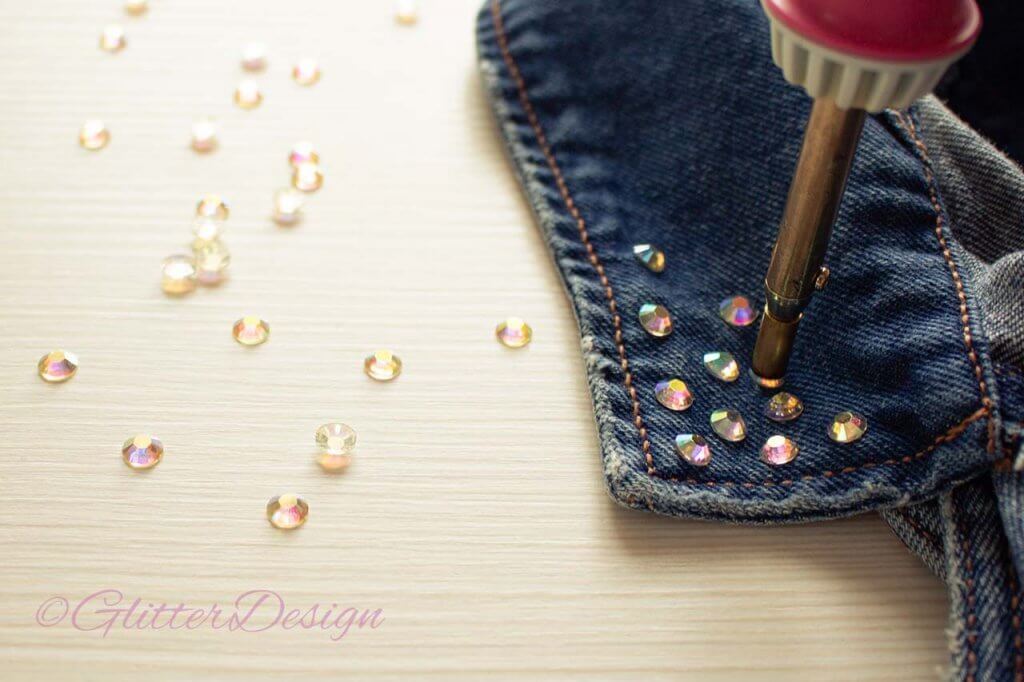
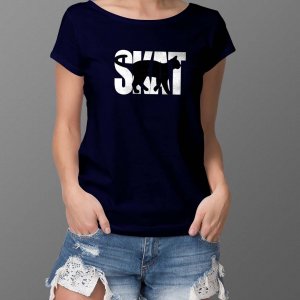
FREE TUTORIALS & INFO ON HOW TO MAKE RHINESTONE DESIGNS TO PUT ON YOUR OWN CLOTHES
Download the free file here: Flower in SVG
Or download the free file here: Flower in PDF

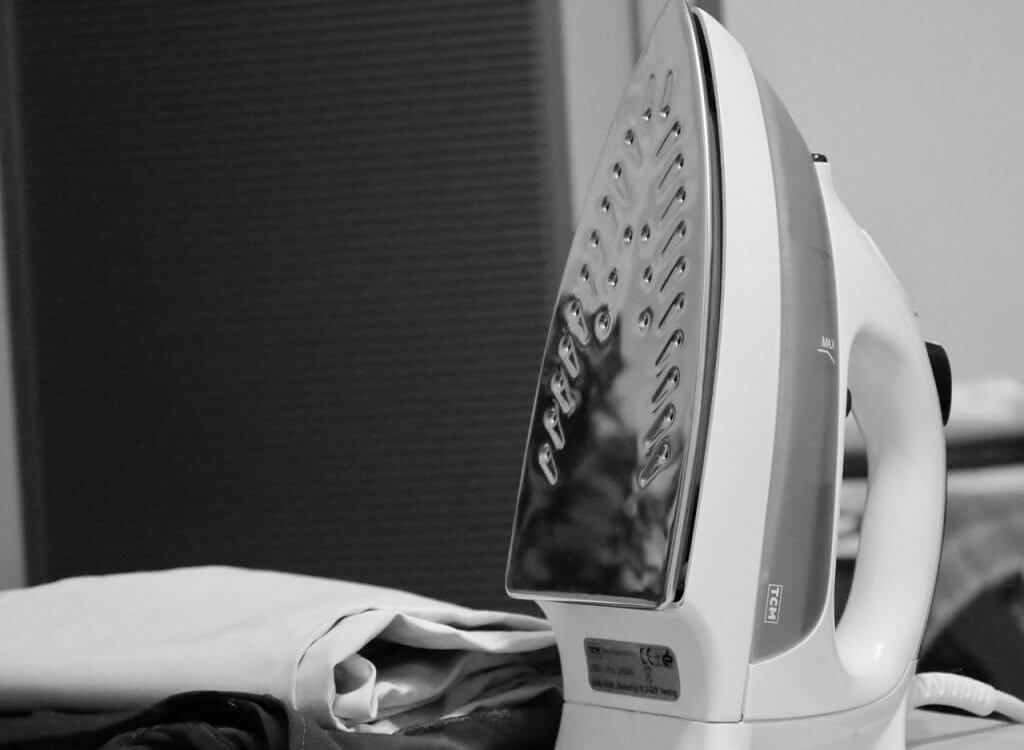
If you want to print a text on a wooden surface, HTV is certainly worth considering. You don’t have to mess with transfer tape, because heat transfer vinyl is already on a carrier. You can transfer the text to wood by simply ironing the HTV text onto the wood. It adheres wonderfully. I also like that HTV is less shiny than regular vinyl and it also looks more natural when there are grooves in the wood. That way, it looks like a hand-painted wooden wall decoration with text. Or why not make these nice little blocks like smileys 

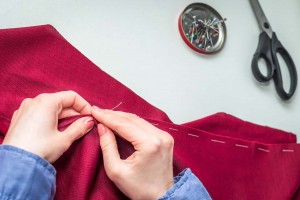
Sewing may seem one of the most old-fashioned household tasks. Nowadays, people used to outsource this task to well-trained people. Let’s say you have damaged your shirt button or notice a hem on your dress, in this manner you have to fix it by your own. You have to know about basic hand-sewing stitches and techniques. These techniques will help
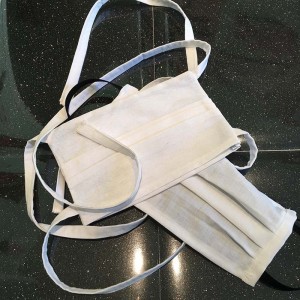
Corona times… unseen and unreal what is happening. In this blog post, I am going to show you how I make a face mask easy and that is also light to wear at the same time. Especially now that warmer days are coming, I prefer something lighter to put on. In some countries they hand out those paper masks to

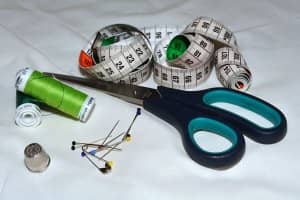
In my previous blog post I indicated what the basic necessities are that you will need to start with your first sewing project. But of course there are a number of things that we have to consider, if we want to start with a first sewing project. Today I will elaborate on the following topics: buying a sewing machine self-made
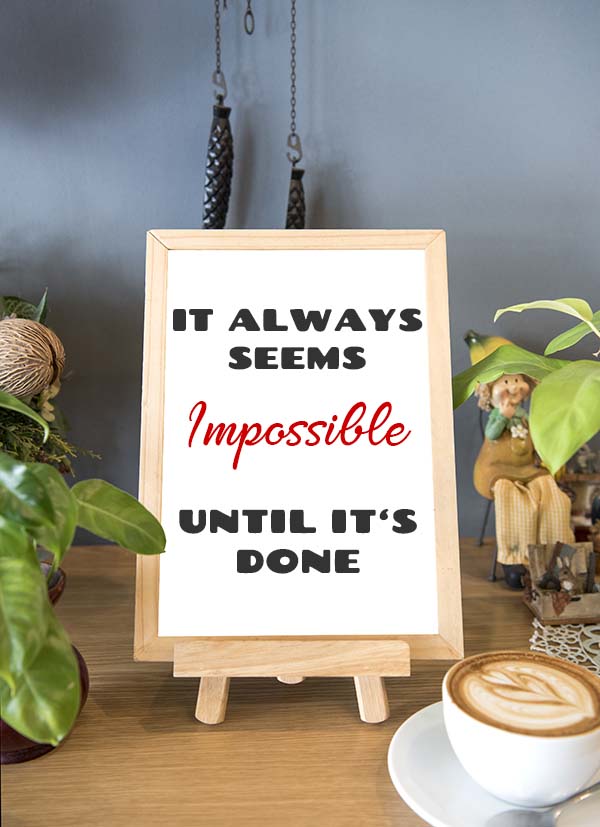
Everyone can start making their own clothes! If you have never held a needle and thread yourself, it indeed seems like a “mission impossible”. But believe me; I speak from experience, making clothes yourself is certainly not impossible. Before my mother died of cancer a while ago I never once sewed anything. My mother was a seamstress and made clothes
WHAT IS HTV VINYL? Or is the real question – what do you use it for, how do you get started and what should you pay attention to? There is nothing as fun as creating a design that you can then apply to an item of your choice. The creative possibilities are endless. It seems simple but can sometimes be
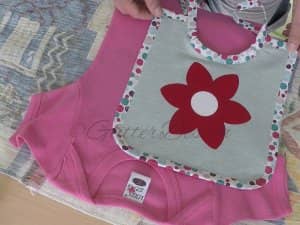
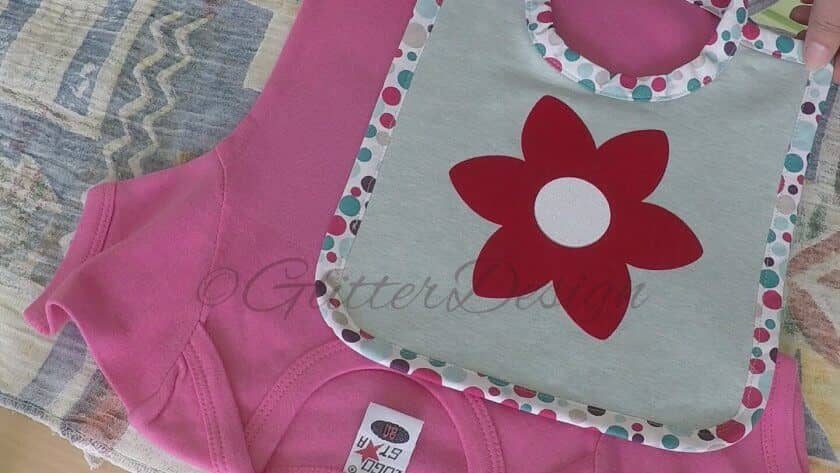
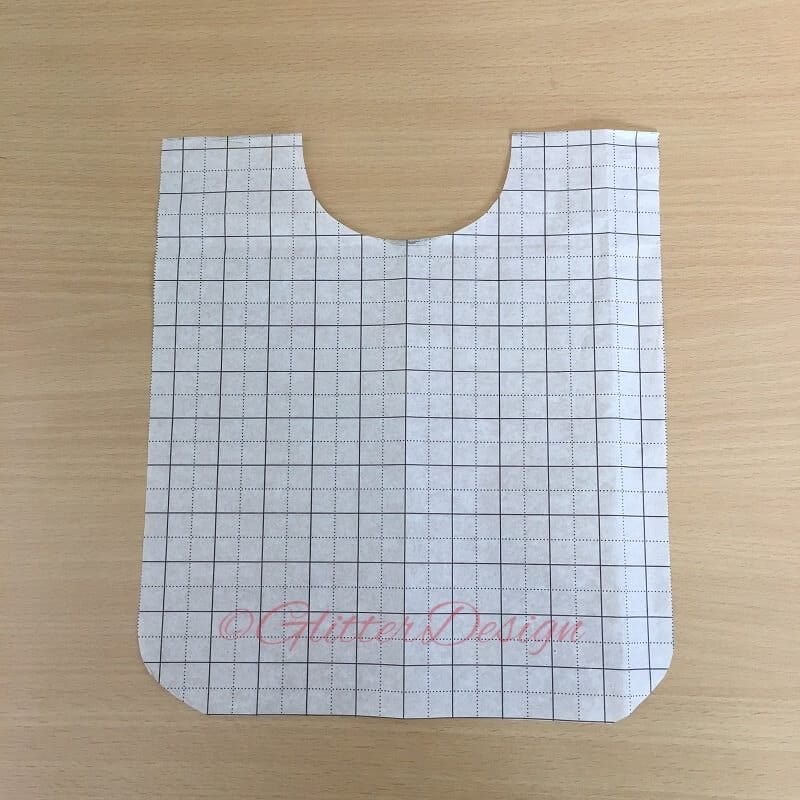
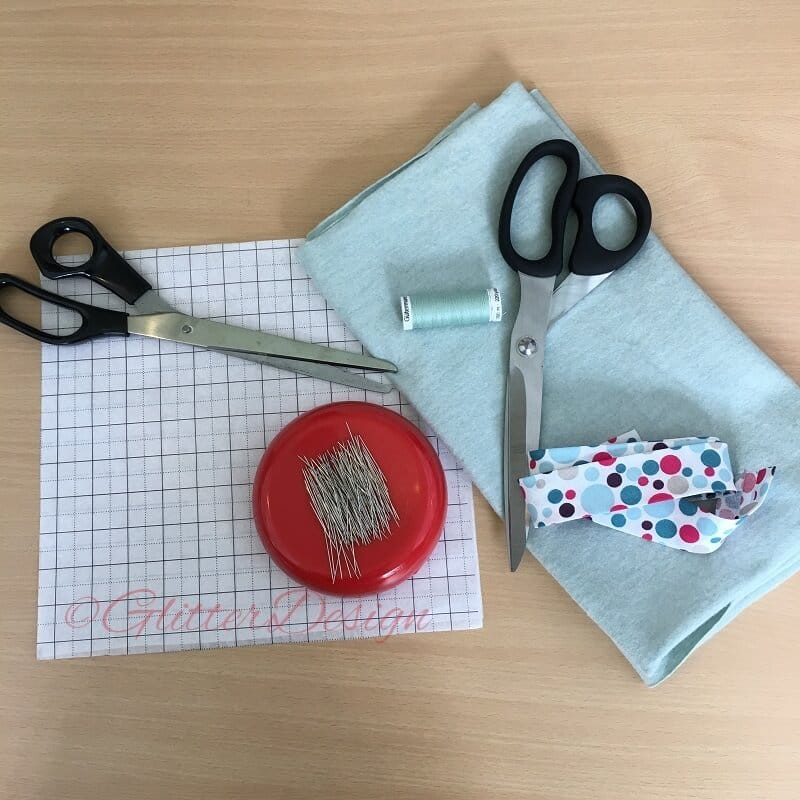
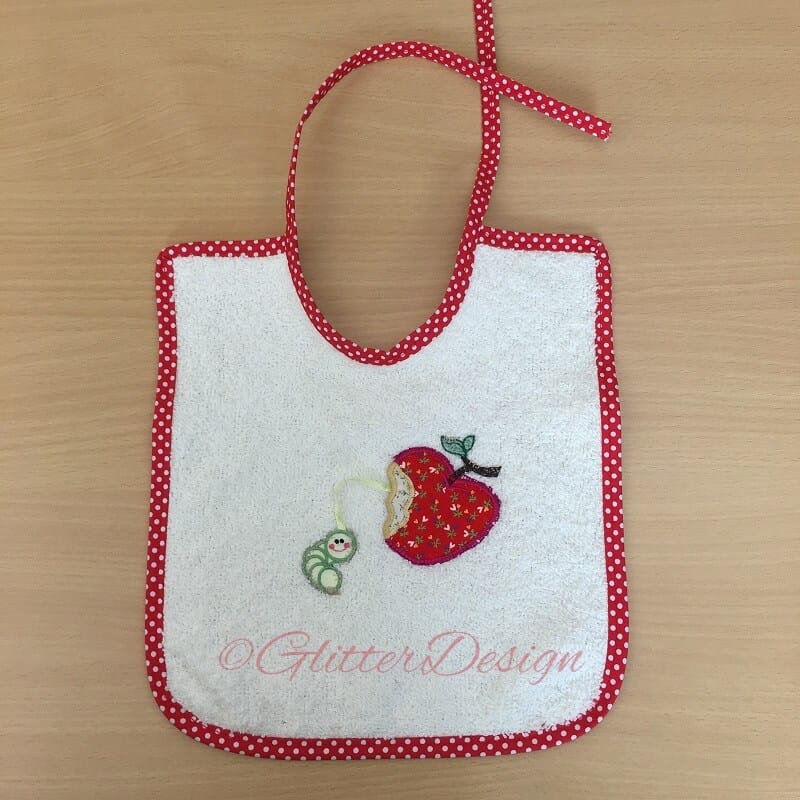
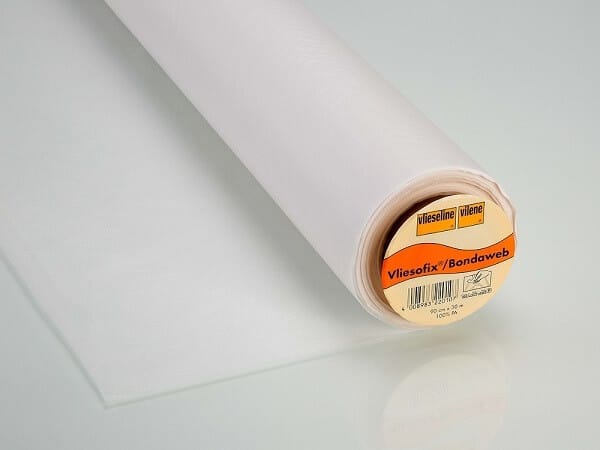
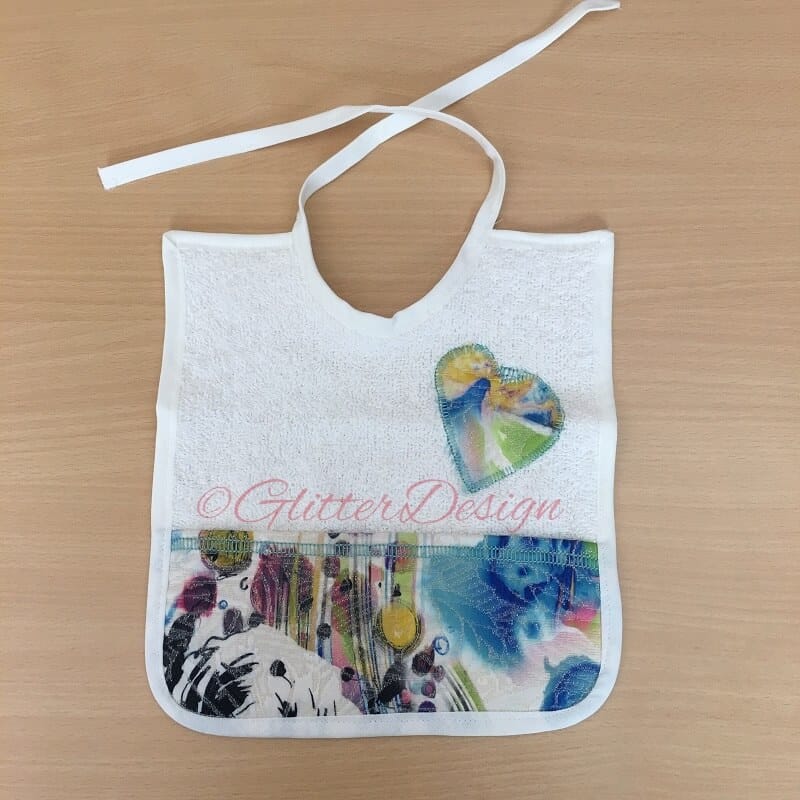
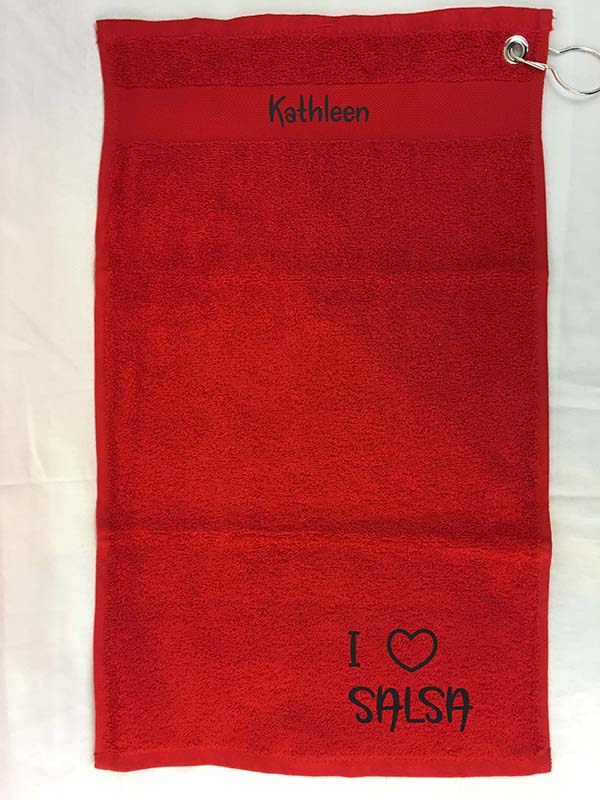
THE MAKING AND PRINTING OF BABY BIBS AND BURP CLOTHS Making bibs for a baby is really not that difficult. It’s fun to do and you don’t need that much material. Just a few steps, and you have great and fun bibs or burp cloths! Self-made bibs are a very original baby gift. I’m also going to teach you how

