Corona times… unseen and unreal what is happening.
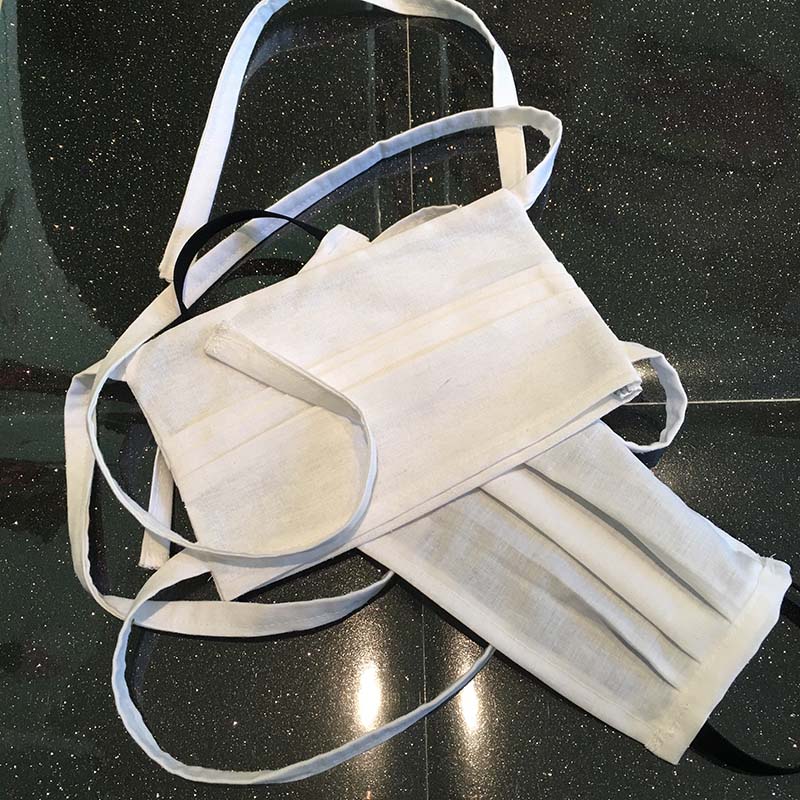
In this blog post, I am going to show you how I make a face mask easy and that is also light to wear at the same time. Especially now that warmer days are coming, I prefer something lighter to put on. In some countries they hand out those paper masks to be admitted to public transport. I think this homemade mouth mask scores better after all.
How do you make a mouth mask to protect yourself and loved ones and to help others who need them badly? Well we can cut and stitch it out of cotton fabric. Of course these masks are not medical masks because those masks are only good for 1 to 2 hours and then they have to be thrown away. But if we make them in cotton, as in our case, they can possibly be washed at high temperatures and you don’t have to throw them away. These mouth masks are simple and can easily be made by beginners. Are you a beginner and would you like to know what you need to start sewing projects, I have made a blog post about making your own clothes: how do you start? What do you need?:
METHOD 1 : EASY (FOR BEGINNERS)
face mask with one single layer fabric and elastic bands
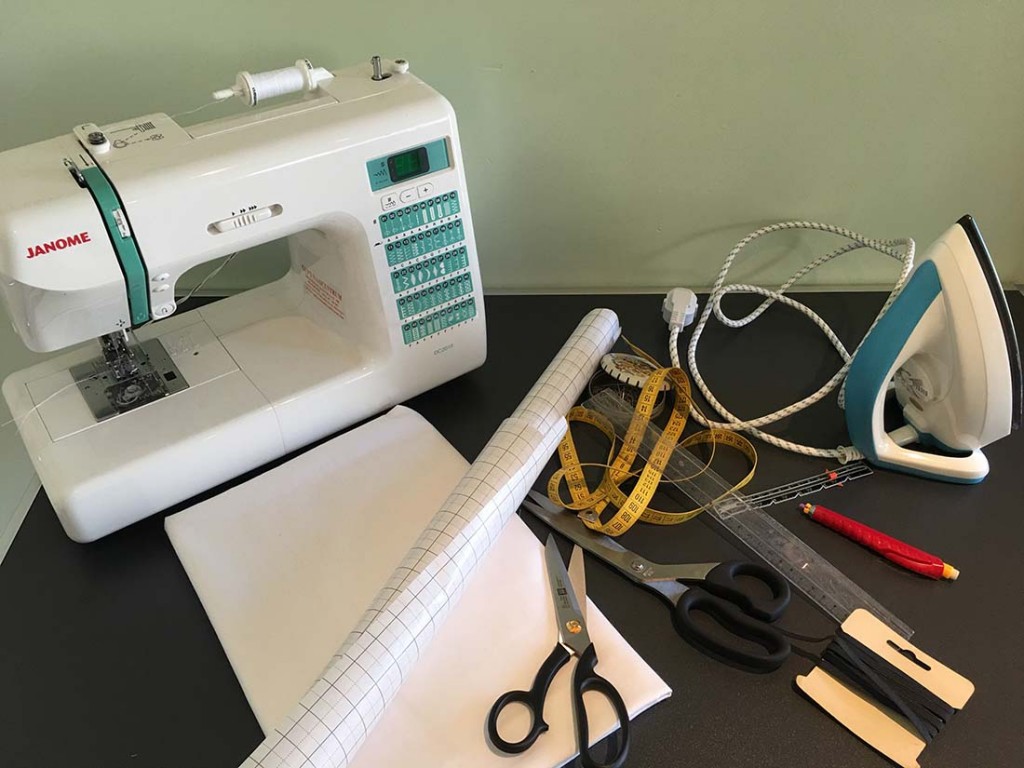
Necessities:
Cotton fabric, woven or tricot. that does not matter, as long as the fabrics can be used in the cooking wax
Elastic that can be used in the cooking wax or cotton ribbons. You can make cotton bias that we fold and stitch together
patterned paper or other thin paper
paper scissors and fabric scissors
pins
possibly chalk or something to mark your seam value
a tape measure or bar
yarn
a sewing machine
an iron
HOW TO START MAKING A FACE MASK
make a pattern out of paper with the following dimensions: 20 – 17 cm
place the pattern on the fabric and cut out with 1 cm seam allowance
cut 2 more pieces of fabric of 10 * 3 cm with 1 cm seam allowance
cut out elastic bands (max. 1 cm wide) with a length of 15 cm
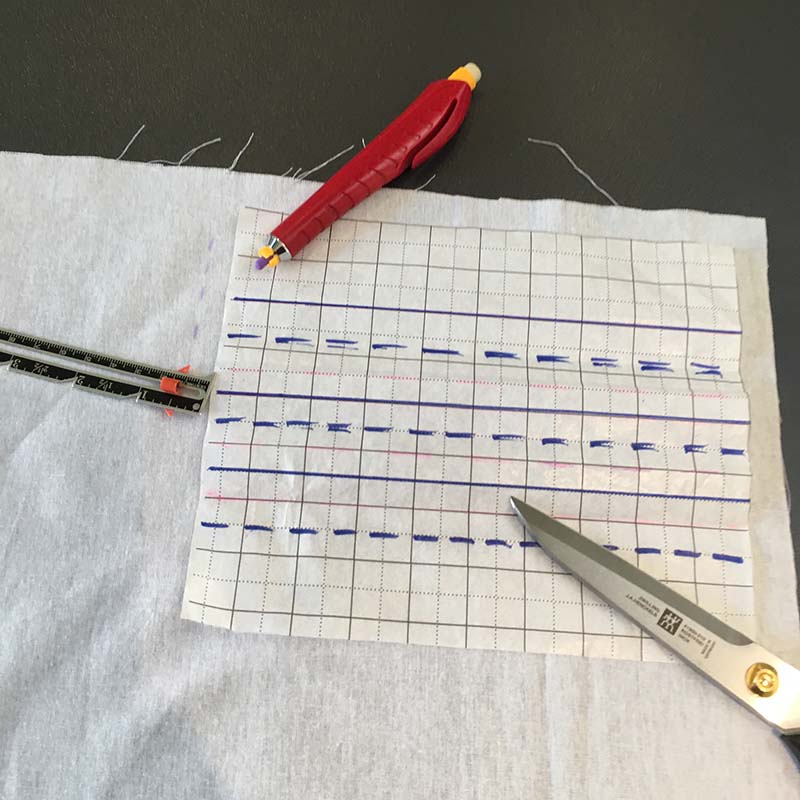
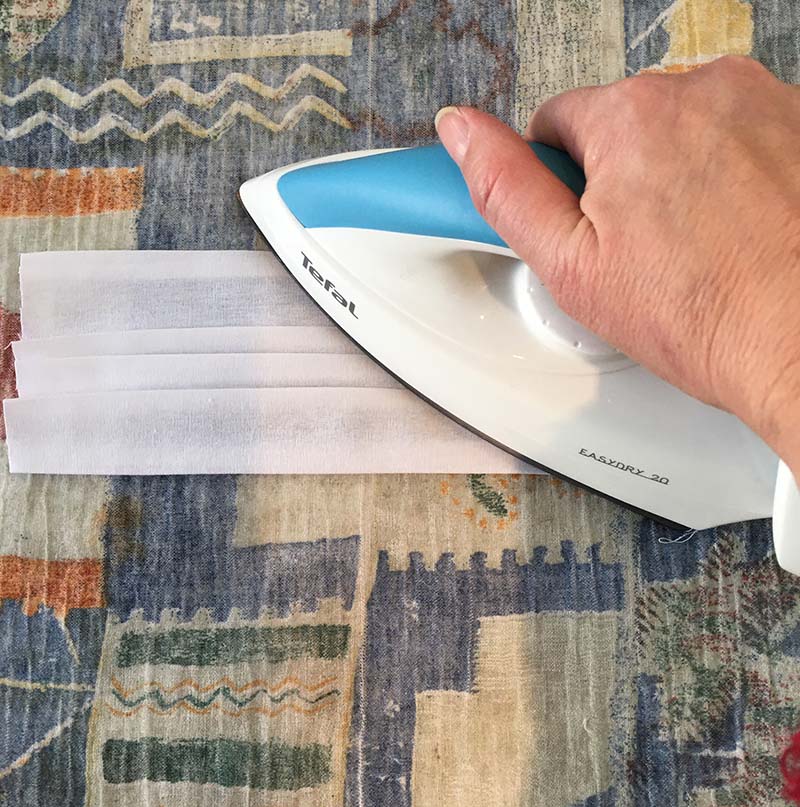
fold the 2 longest ends of your piece of fabric in 1 cm and fold in again
pin in place
iron these folds flat
make pleats in the middle of the fabric: first pleat at 5 cm
2nd and 3rd pleat at 3cm
iron these folds flat
stitch the pleated ends with a straight stitch
place the pieces of fabric wrong side up on the nice side of the piece of fabric
stitch it with a straight stitch
double fold and sew
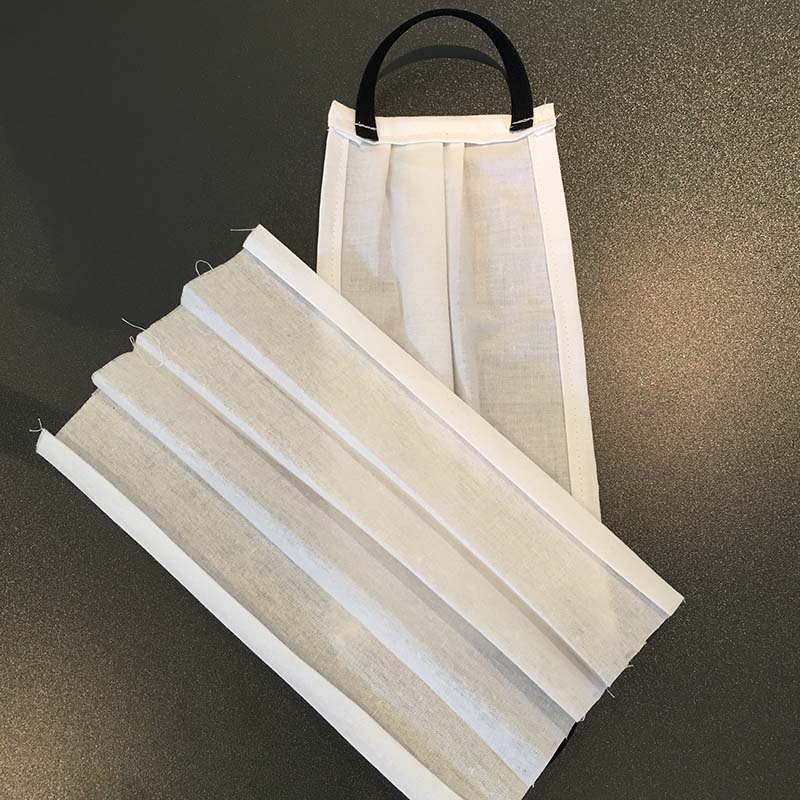
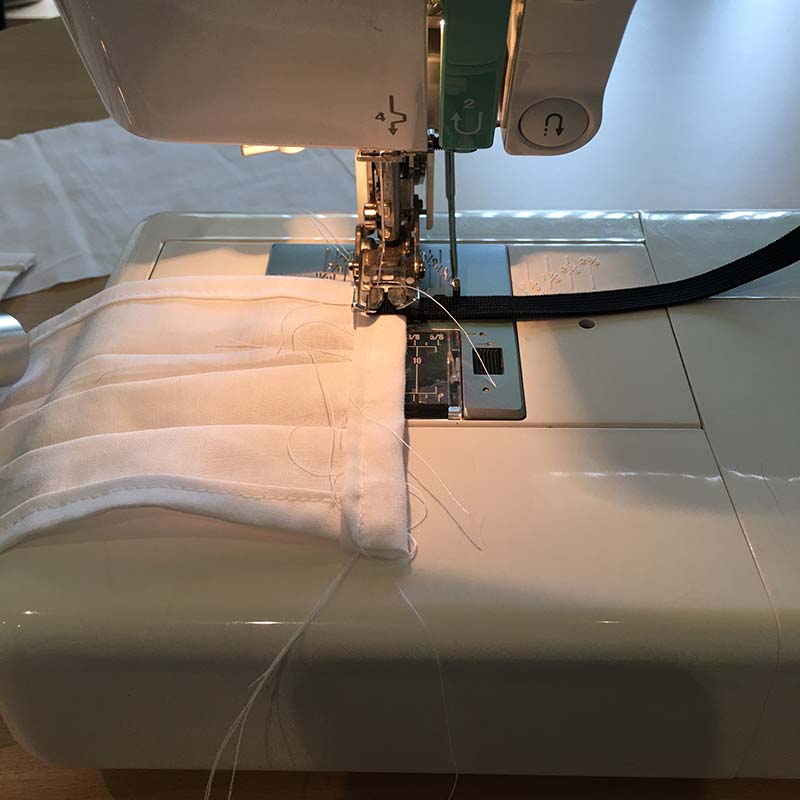
take 2 elastic bands of 15 cm
place it on both sides on the wrong side of the mask
stitch by stitching over and over the elastic a few times (stitch on the same stitching of your seam)
SIGN UP FOR NEW SEWING IDEAS AND TECHNIQUES STRAIGHT TO YOUR INBOX
METHOD 2
FACE MASK WITH DOUBLE LAYER FOR USE OF FILTER AND RIBBON TIES
For this mouth mask you need 2 pieces of fabric. One of 21.5 by 20 cm and one of 19 by 20 cm and matching yarn. Also need 4 strips of fabric 5cm wide and about 40cm long to make the ribbons.
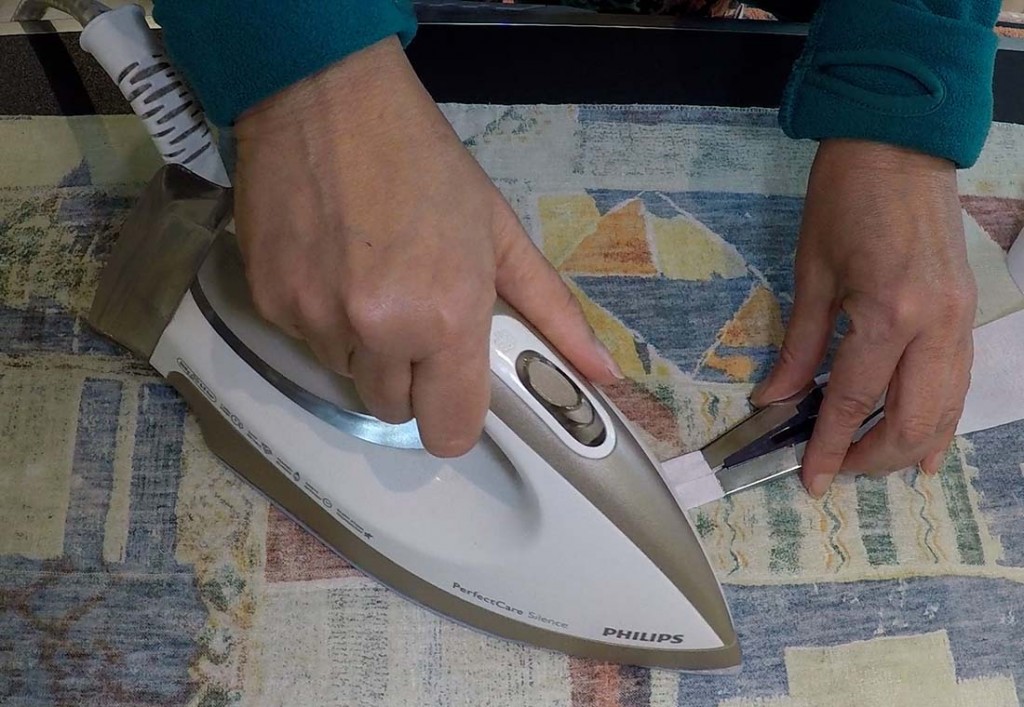
We start with measuring and cutting the ribbons. I am going to make ribbons from these pieces of fabric using a 2.5cm bias tape maker. This is a handy tool to make your bias binding yourself. Fold a corner and put it in the bias tape maker at the back. You can push the bias all the way with a sharp object and then only iron it. Fold the made band in half and press.
Afterwards we stitch the ribbon with a straight stitch. Place the needle of your stitching machine as far to the right as possible so that you can stitch close to the seam. At the beginning and end you fix the stitching by stitching back and forward again. When you use yarn of the same or matching color of your fabric, the stitching is hardly visible.
Then we put the pattern on the fabric and pin it. For the pattern (which has been proposed by the FPS Health) I refer to the blog of Bernina, where you can download this.
Provide small cuts (half way up the seam) or markings where the pleats should go. Indicate where bottom and top are.
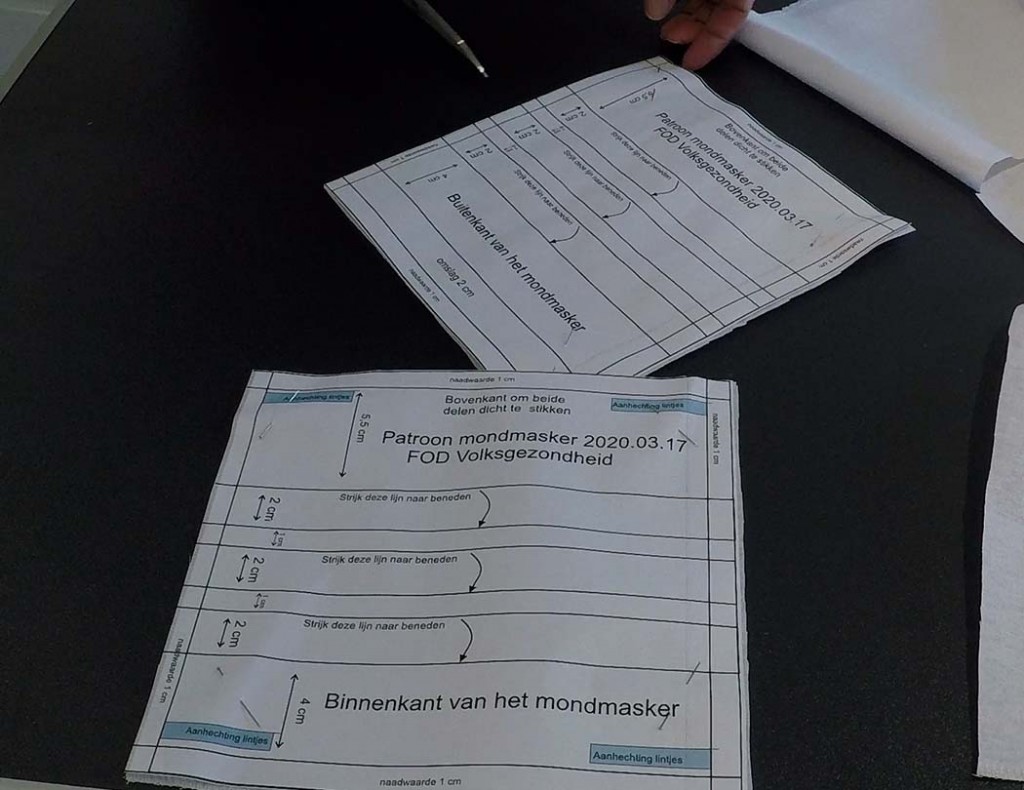
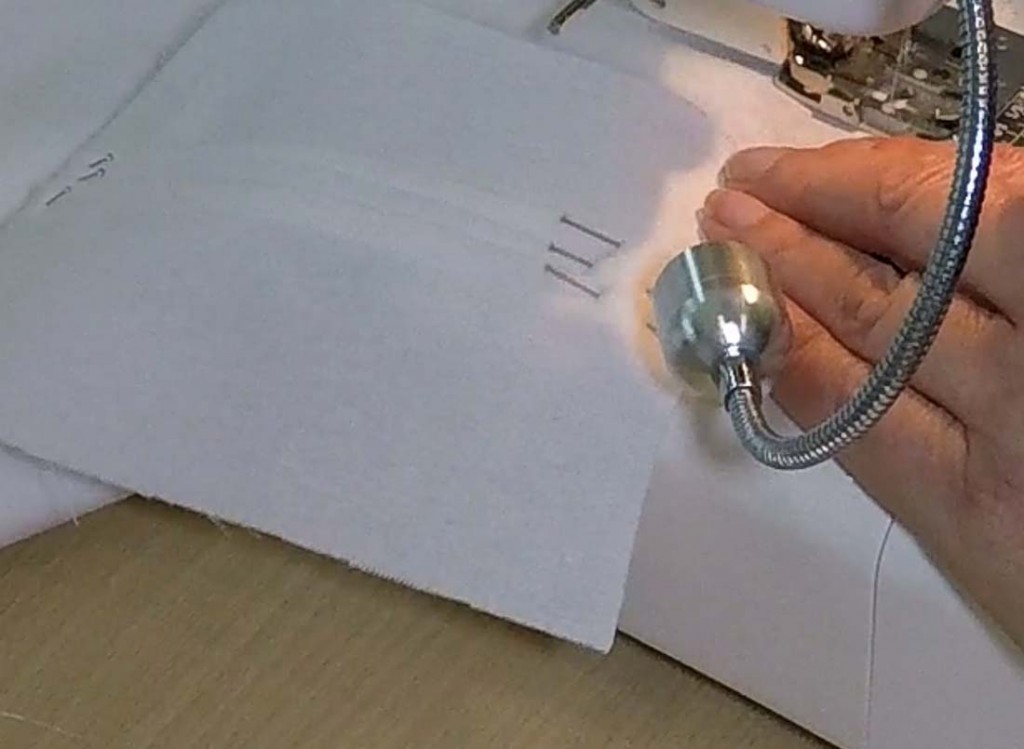
Afterwards I press the folds in both parts of the fabric. Take 2 cm and slide down. Ensuring that the markings overlap. This way you create pleats of 1 cm.
Also iron the bottom edges 1 cm and also iron in a 2 cm wrap on the bottom of the outside of the mask towards the wrong side of the fabric.
Afterwards I pin the pleats and leave enough space so more than 1.5 cm from the side so that I can leave them when the 2 parts are stitched together. .
Sew the bottom seams with a straight stitch.
Pin the ribbons and keep a little away from the lace. Make sure that the ribbons are centered in such a way that we will not stitch them later.
Front and back are pinned together. The bottom of the mask remains open. Because we have already stitched the seams of those pieces and they are therefore finished.
Afterwards I stitch the parts together with a 1 cm seam allowance and fasten at the beginning and the end. For example, the folds are stitched in and I can remove the pins afterwards.
For the finishing of the inside I took out my overlock machine and finished the edges. If you do not have an overlock, you can finish with a zigzag stitch from your sewing machine.
We turn the work around, push the corners in, cut some wires and have a mouth mask with ribbons where you can insert a filter.
methode 3 : TIGHT-FITTING
FACE MASK WITH FILTER PATTERN AND ELASTIC HAIR BANDS
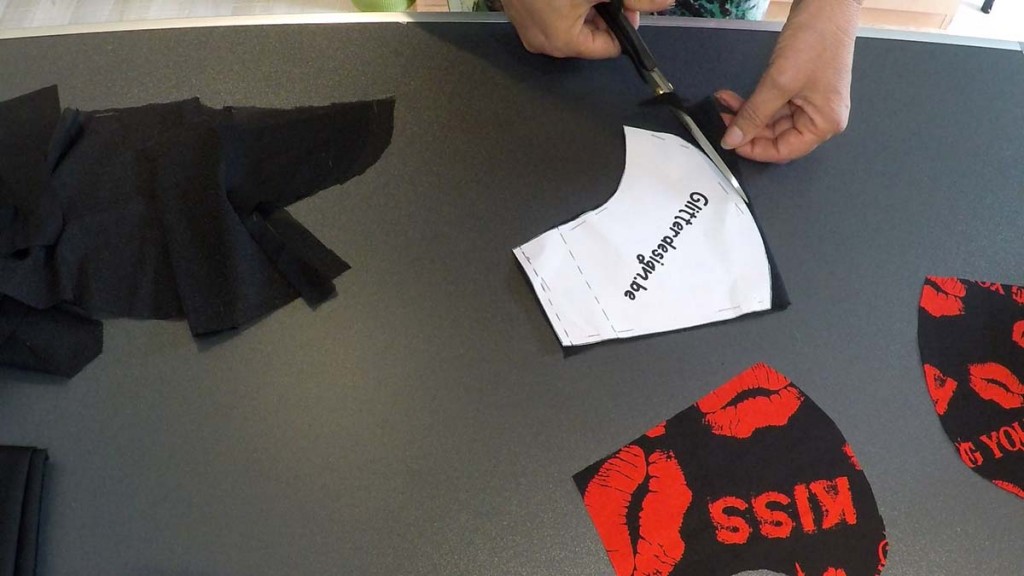
The pattern I use here can be downloaded from the link below.
This pattern is a medium and it has 1 cm seam allowance. If you want a smaller mask, you can make the pattern smaller by cutting 1 cm and if you want a size bigger, you can cut all around with an extra 1/2 inch of fabric.
For the back of the fabric I cut interfacing (H180, H200 or H250 is suitable) that will be ironed on later. Vlieseline gives the fabric a bit more firmness.
What you can also do if you have plain white or black cotton fabric is to print it with a nice text or image.
For the filter bag on the inside I use black cotton fabric. We can use the same pattern for this and fold it 2.5 cm. Then we also put it 2.5 cm from the side. We pin and fold the end of the fabric under the pattern. Then we cut out the fabric for the inside of the mask.
When everything is cut; we pick up our iron and fold and iron the cover inwards. Also iron in the seam allowance.
When we’re done with this, we can pin the right sides together. Both from the bottom and the top of the mask. We will stitch these halves together in a moment.
So we stitch together both halfs of the top of the face mask and part s of the black filter bag. Don’t forget to secure the stiches by stitching back and front with your machine.
We give a nice stitching on the folded seam. This way, the inside is beautifully finished.
Then we flatten the seams so that we can pin the beautiful sides together of the top and bottom of our mask.
Make sure your both sides are well pinned together in the middle. For the rest, I like to use these special clips. That is a nice and fast way to pin and does not make any holes in your fabric.
You stitch the 2 parts together and make a number of cuts in the curve, so that when we turn our work inside out, everything is nice and crisp.
For the reinforcement on the nose I use a paper clip that I bent at both sides with pliers. To stitch this into the face mask, I use a zigzag stitch. Of course, proceeding with caution.
Then we iron the seam values and fold and iron both ends of the face mask 2.5 cm inwards and also a seam allowance of 1 cm.
Would you like to get started right away? Download the pattern.
Since there was no more elastic available in the store, I came up with the idea of using elastic hair bands for the face mask. You can use it as a temporary solution or if you like it, you can of course leave it in and wear it. If you do not find them so comfortable, you can still loosen and stitch them back later if elastic is available in the store.
I used my special cord foot for stitching the hair bands. If you do not have this, then try to get your needle as close as possible to the elastic bands.
Now I give a second stitch a 2 cm from the side and our mask is ready.
This way you can easily use a mouth mask that can help protect yourself and others. I wish everyone a lot of strength in these difficult times and I also thank all people in the healthcare sector for their incredible commitment and persistence.
Would you like to sit at home in this time, to know more about how to make the best choices for your first sewing project, I wrote this blog post especially for you “Which sewing machine, pattern and fabric should I choose for my first sewing project? “
Definitely check it out!
Follow me on Facebook, Instagram of op mijn YouTube kanaal:
