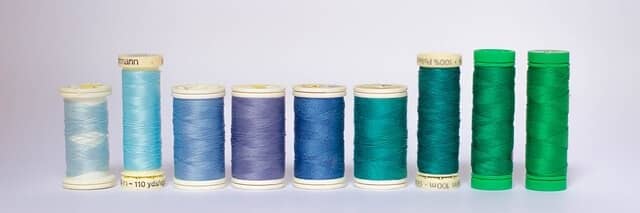
What you can also do if you have plain white or black cotton fabric is to print it with a nice text or image.
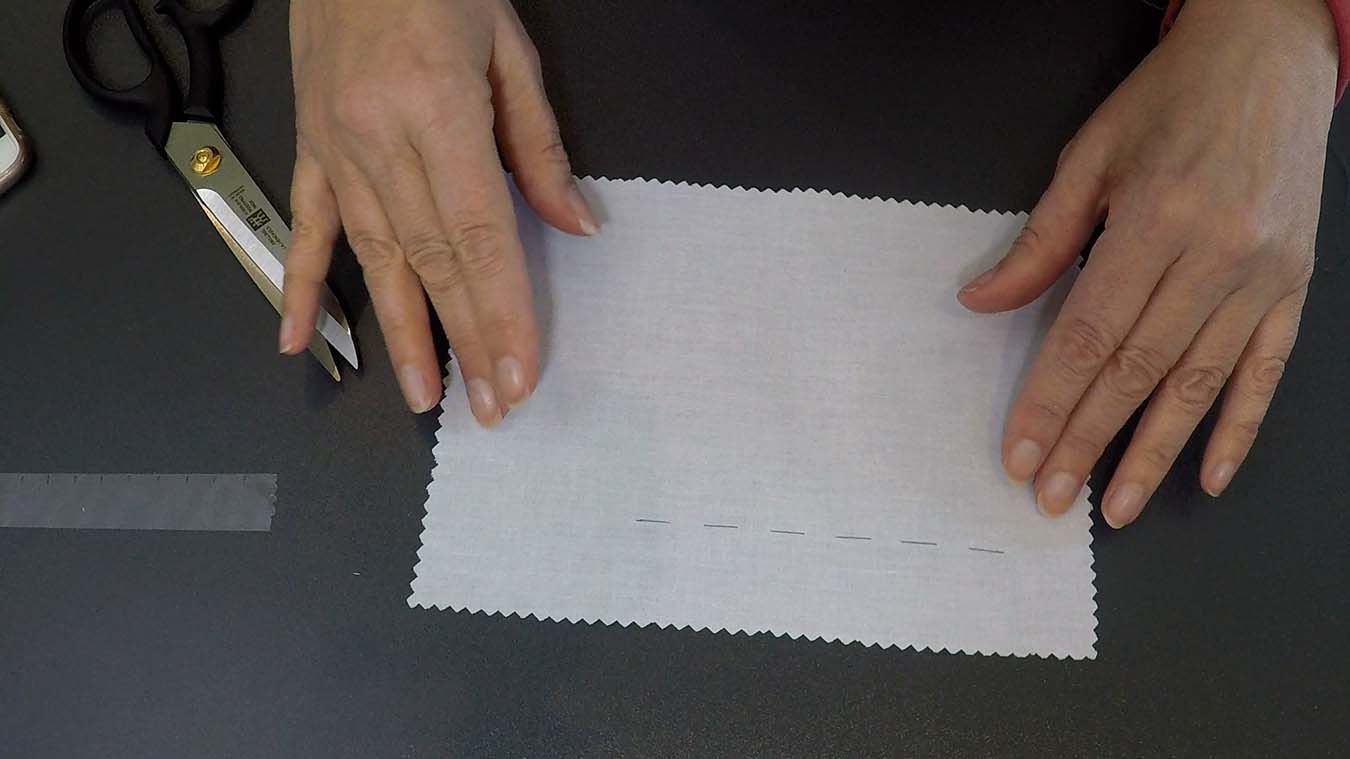
For the filter bag on the inside I use black cotton fabric. We can use the same pattern for this and fold it 2.5 cm. Then we also put it 2.5 cm from the side. We pin and fold the end of the fabric under the pattern. Then we cut out the fabric for the inside of the mask.
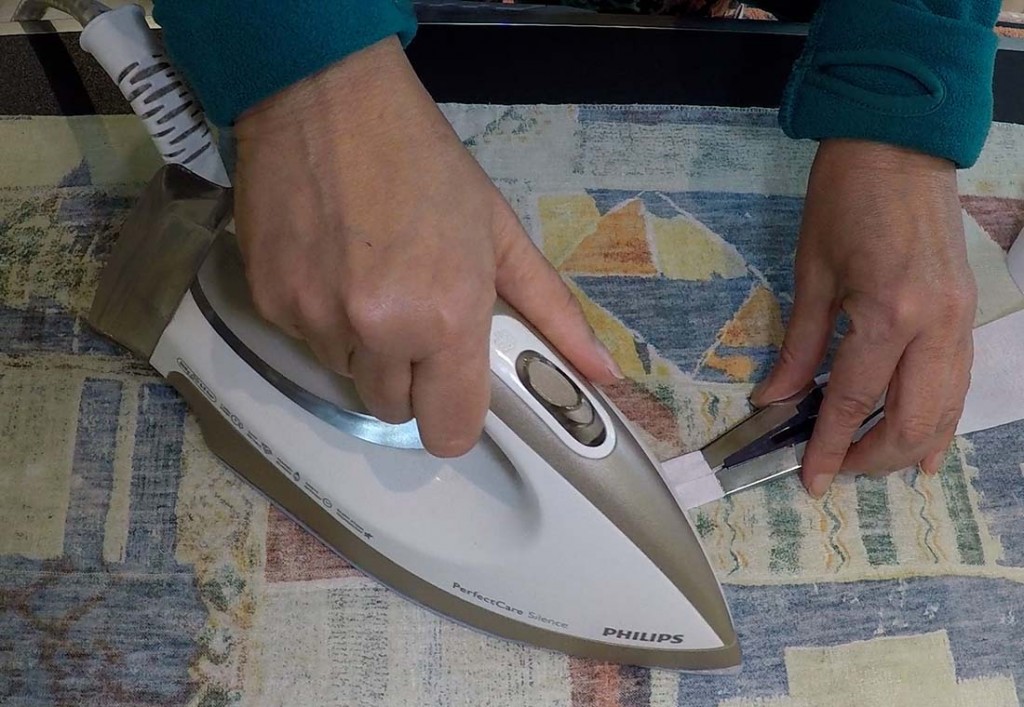
When everything is cut; we pick up our iron and fold and iron the cover inwards. Also iron in the seam allowance.
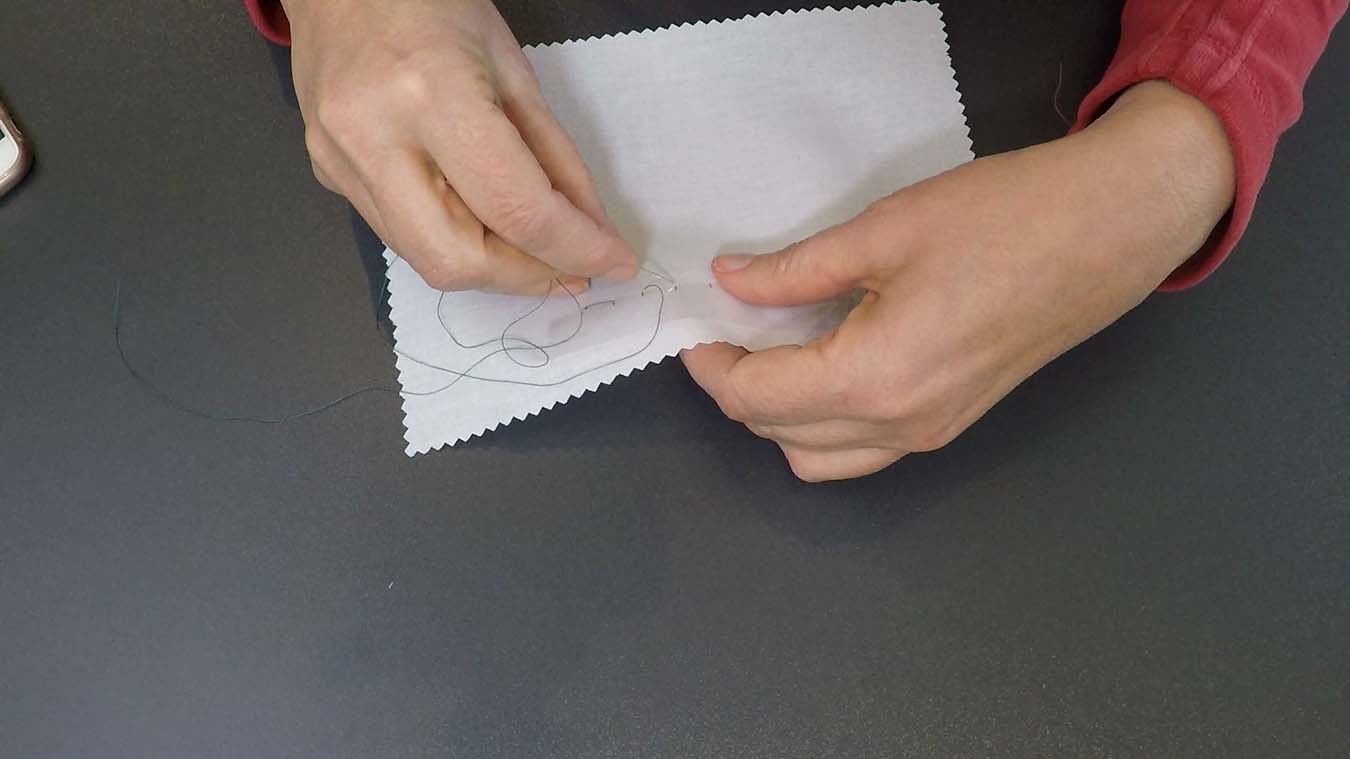
When we’re done with this, we can pin the right sides together. Both from the bottom and the top of the mask. We will stitch these halves together in a moment.
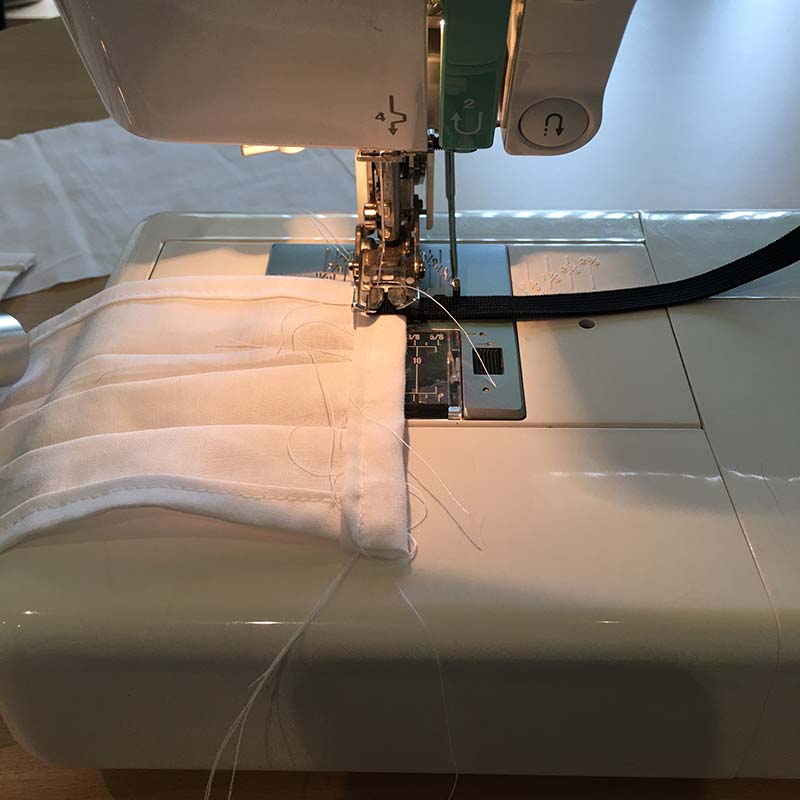
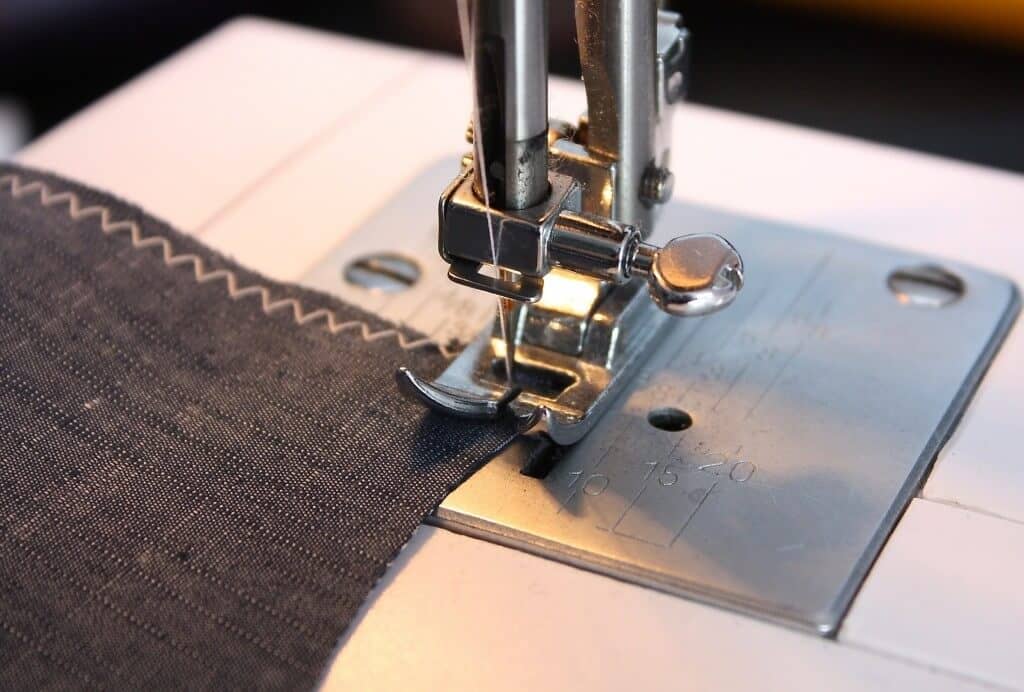
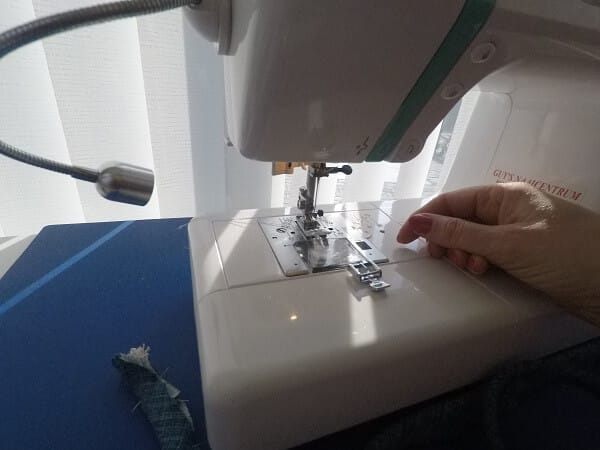
So we stitch together both halfs of the top of the face mask and part s of the black filter bag. Don’t forget to secure the stiches by stitching back and front with your machine.
We give a nice stitching on the folded seam. This way, the inside is beautifully finished.
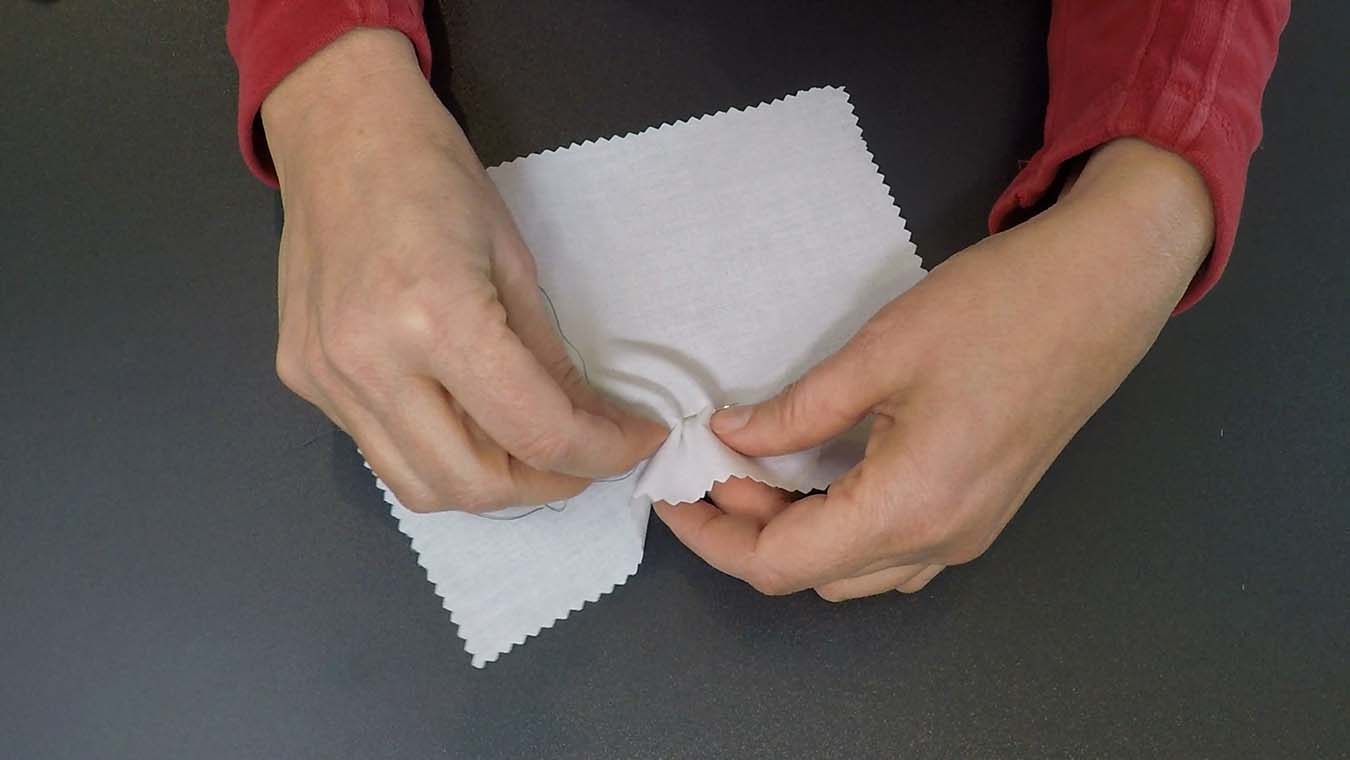
Then we flatten the seams so that we can pin the beautiful sides together of the top and bottom of our mask.
Make sure your both sides are well pinned together in the middle. For the rest, I like to use these special clips. That is a nice and fast way to pin and does not make any holes in your fabric.
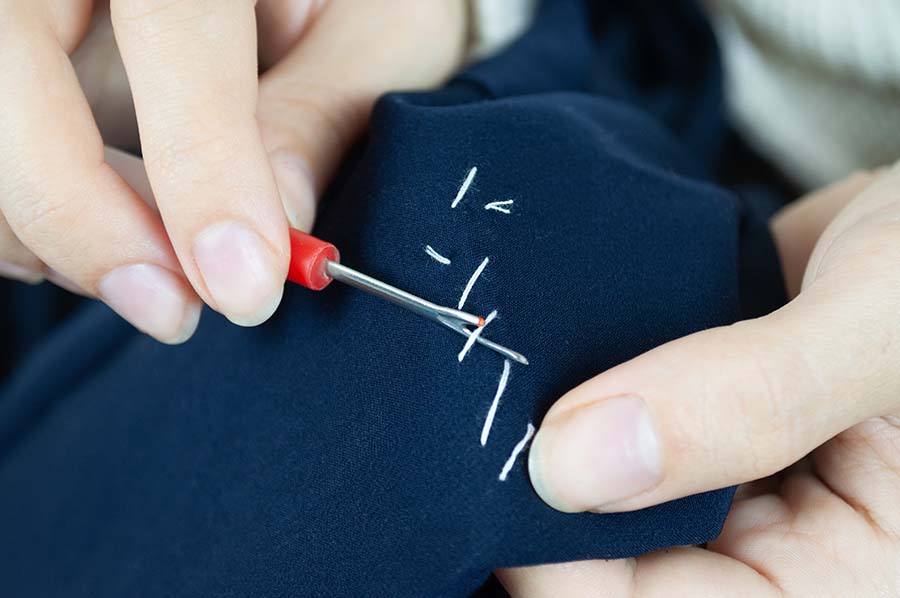
You stitch the 2 parts together and make a number of cuts in the curve, so that when we turn our work inside out, everything is nice and crisp.
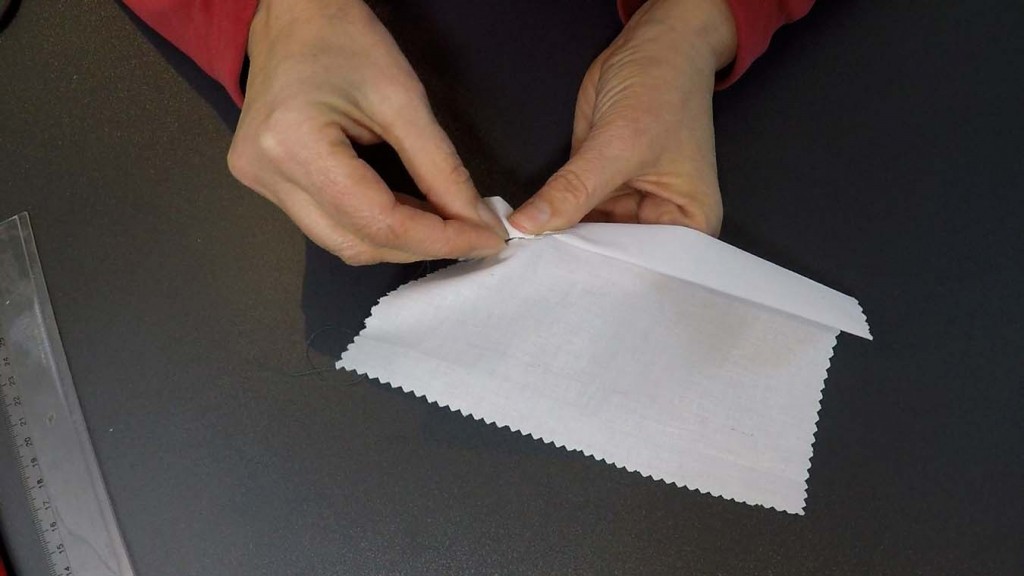
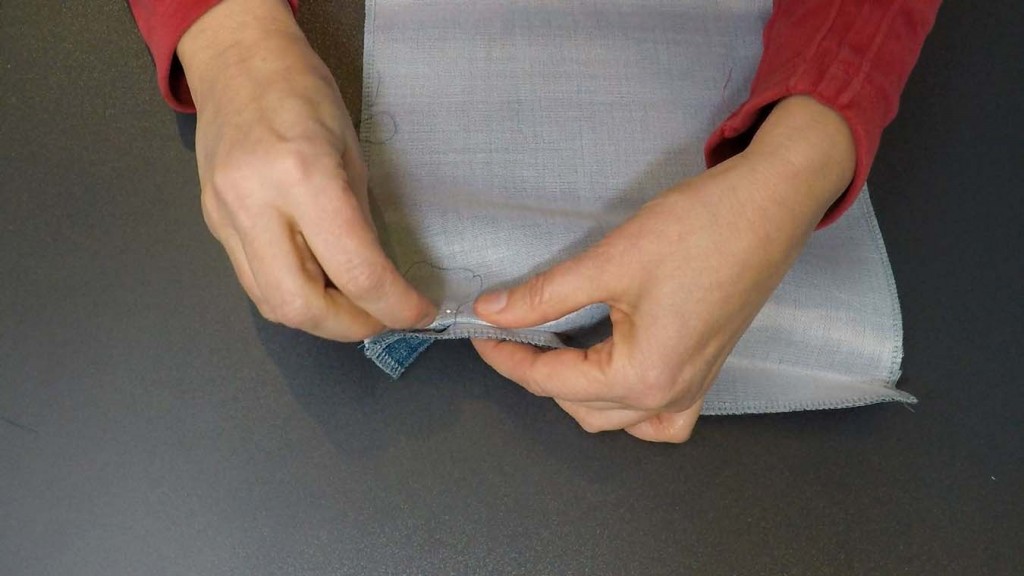
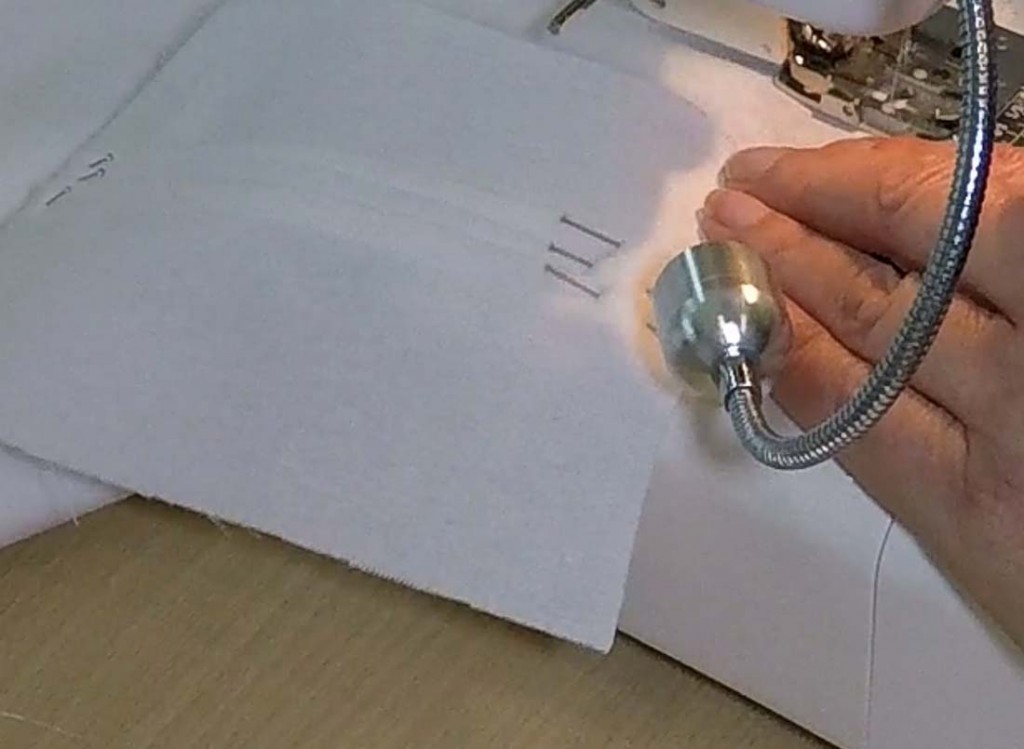
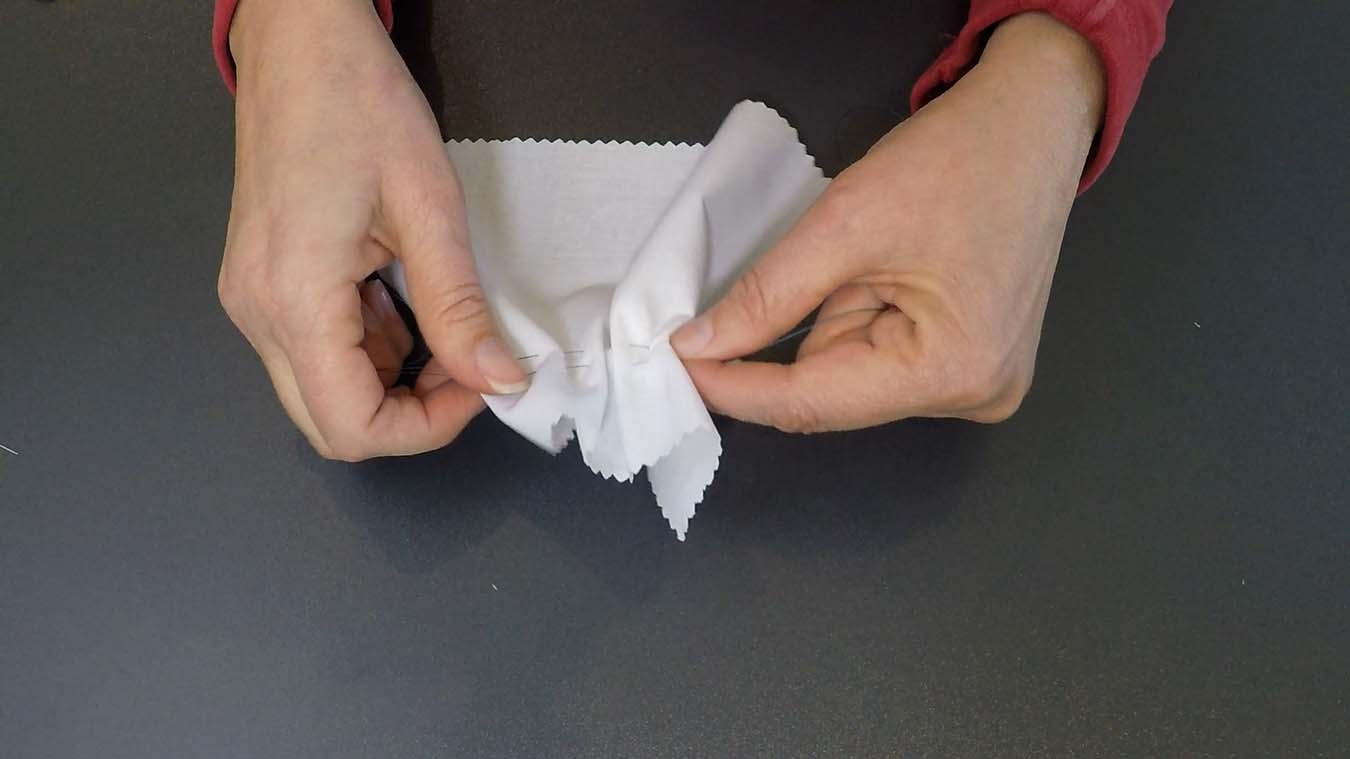
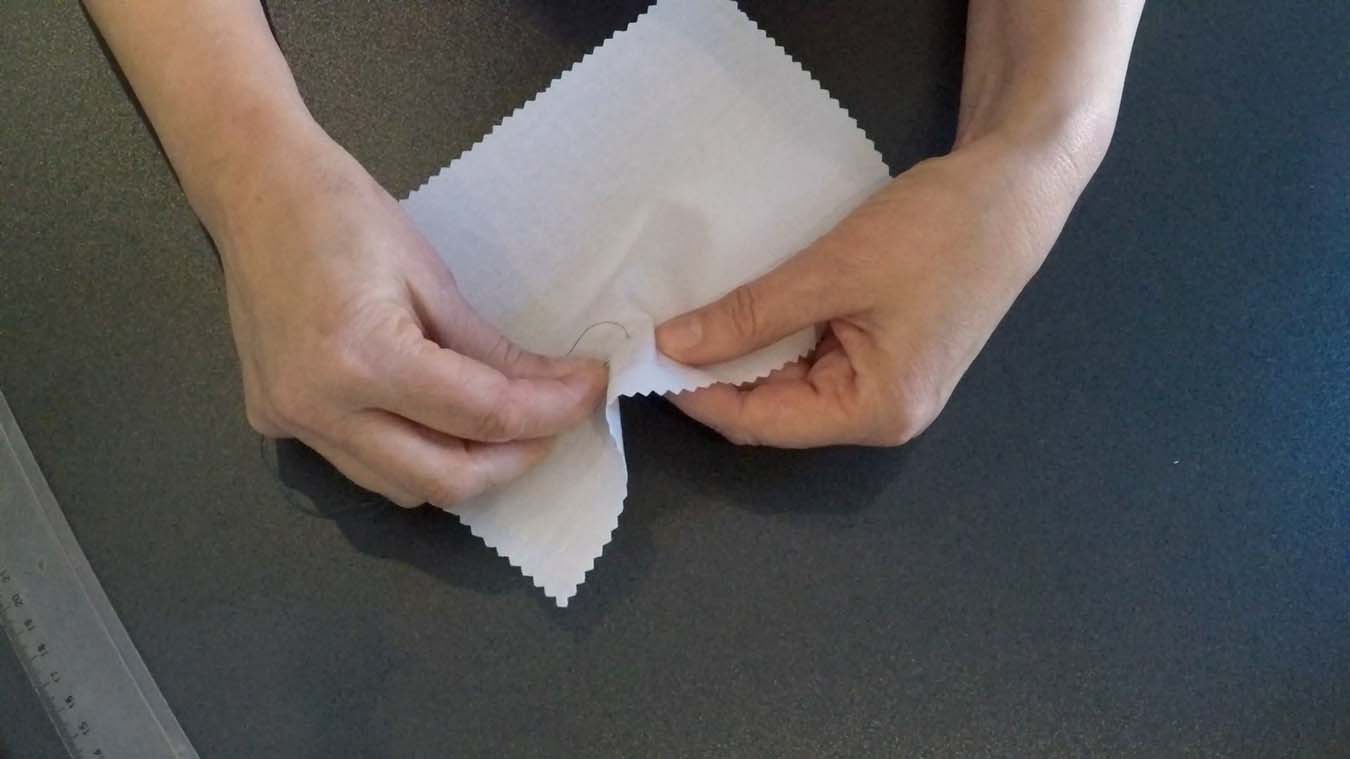
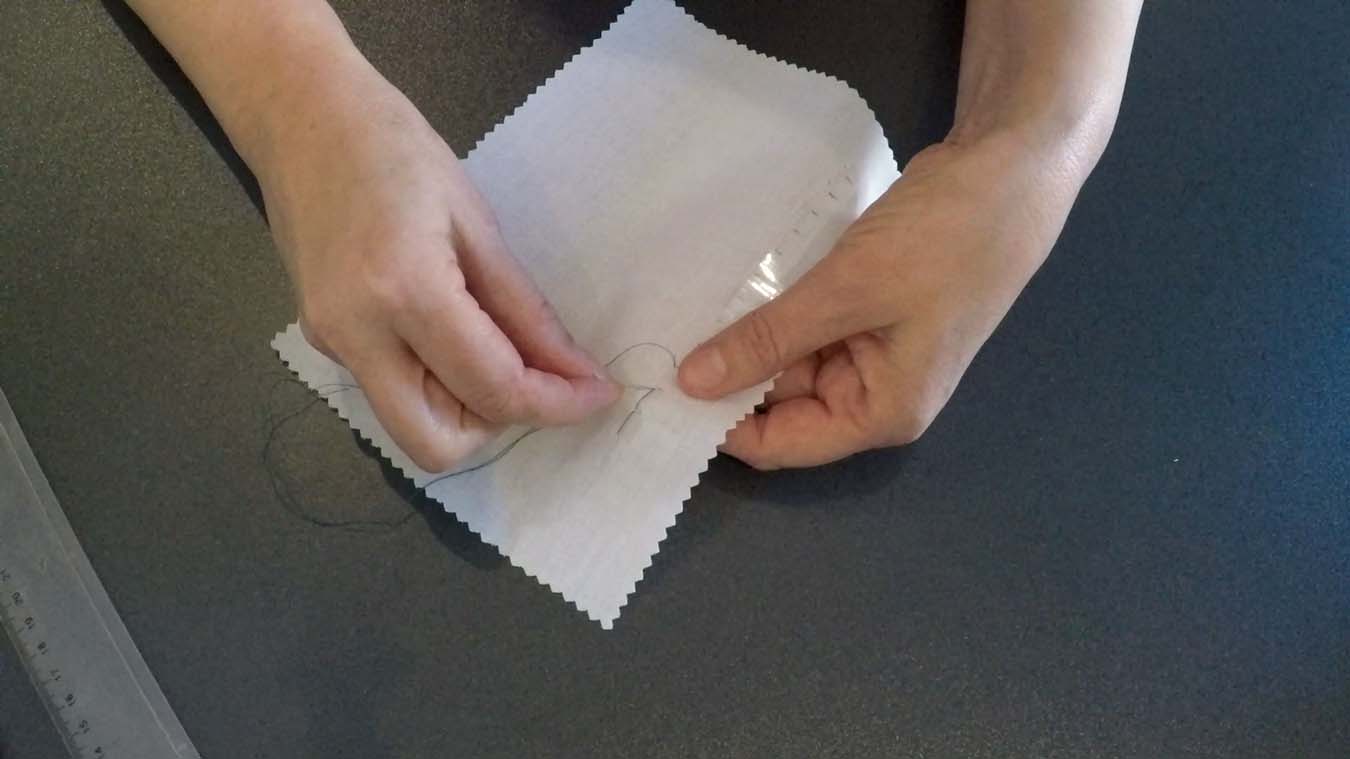
For the reinforcement on the nose I use a paper clip that I bent at both sides with pliers. To stitch this into the face mask, I use a zigzag stitch. Of course, proceeding with caution.
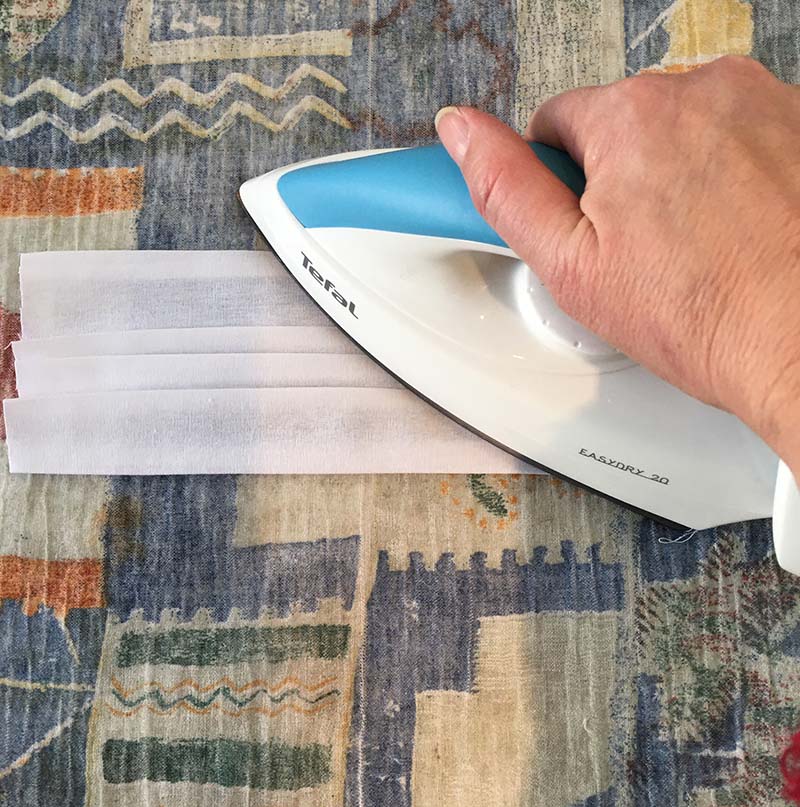
Then we iron the seam values and fold and iron both ends of the face mask 2.5 cm inwards and also a seam allowance of 1 cm.


